Thursday, August 20, 2015

A Murder of Crows Canvas

This canvas came from an Andy Skinner video and a fabulous rubber stamp, aptly named "A Murder of Crows" from Lost Coast Designs.  The canvas has many, many layers, some good, others that had to be covered up and started over!  The focal point was to be the stamp with the addition of two border stamps: "Skulls" and "Birds" again from Lost Coast Designs but I had never tried to stamp on a canvas with 15 layers on it before. Alas, it just would not work out stamping on the canvas, at least not for me!  So intent on completing this as planned, I stamped the image on tissue paper and with matte medium attached it over the partially stamped image.  Loved that it showed up the colors and the stamp!  Then the problem of covering up the tissue paper....many things tried but finally some Rusty Hinge Distress Ink dabbed on with a sponge gave me a look I could live with and I liked the look so much I used it on all the stamped images on the canvas that I had not redone with tissue paper because the look I had gotten went with my idea.  So after days of drying and crying here is "A Murder of Crows".


There is still time to enter the Lost Coast Designs Challenge #15 Circles it ends the 25th so hurry and join us!  And don't risk missing any of the upcoming news at our Lost Coast Portal to Creativity blog, lots coming up you won't want to miss!  

 Links to Lost Coast Designs Sites:


Tuesday, August 11, 2015

Ike's World Challenge #44 "Fashion"

I am using a fab freebie image from Ike's Art "Fashionista" for this fortnight's challenge along with a scenic background found in the Greece bundle, and another freebie called "Hello Kitteh".  Colored up everything with Prisma colored pencils and used strips of cardboard to make the two very different fashionistas pop off the background.  I also used watercolors around the awesome Greek scene.  Also used an arrow from Dragons Lair Designs for the sentiment.

Lovely and original! My kind of gals!

Looking forward to seeing you at Ike's World Challenge!  Remember each challenge has an awesome freebie like these two fantastic models so come by and stay and play!

Happy Crafting!

Sunday, August 9, 2015

Smudge Fest Day 7

Super Hero Sunday! Here is a Love Grumpy but at night he is......Anti-Love Hero!!  He stalks the night shooting arrows into the hearts of new lovers breaking the magic of love and making chaos to all he touches!

 
 Thanks for a fun week More Smeared Ink!

Saturday, August 8, 2015

Day 6 of Smudge Fest 2015

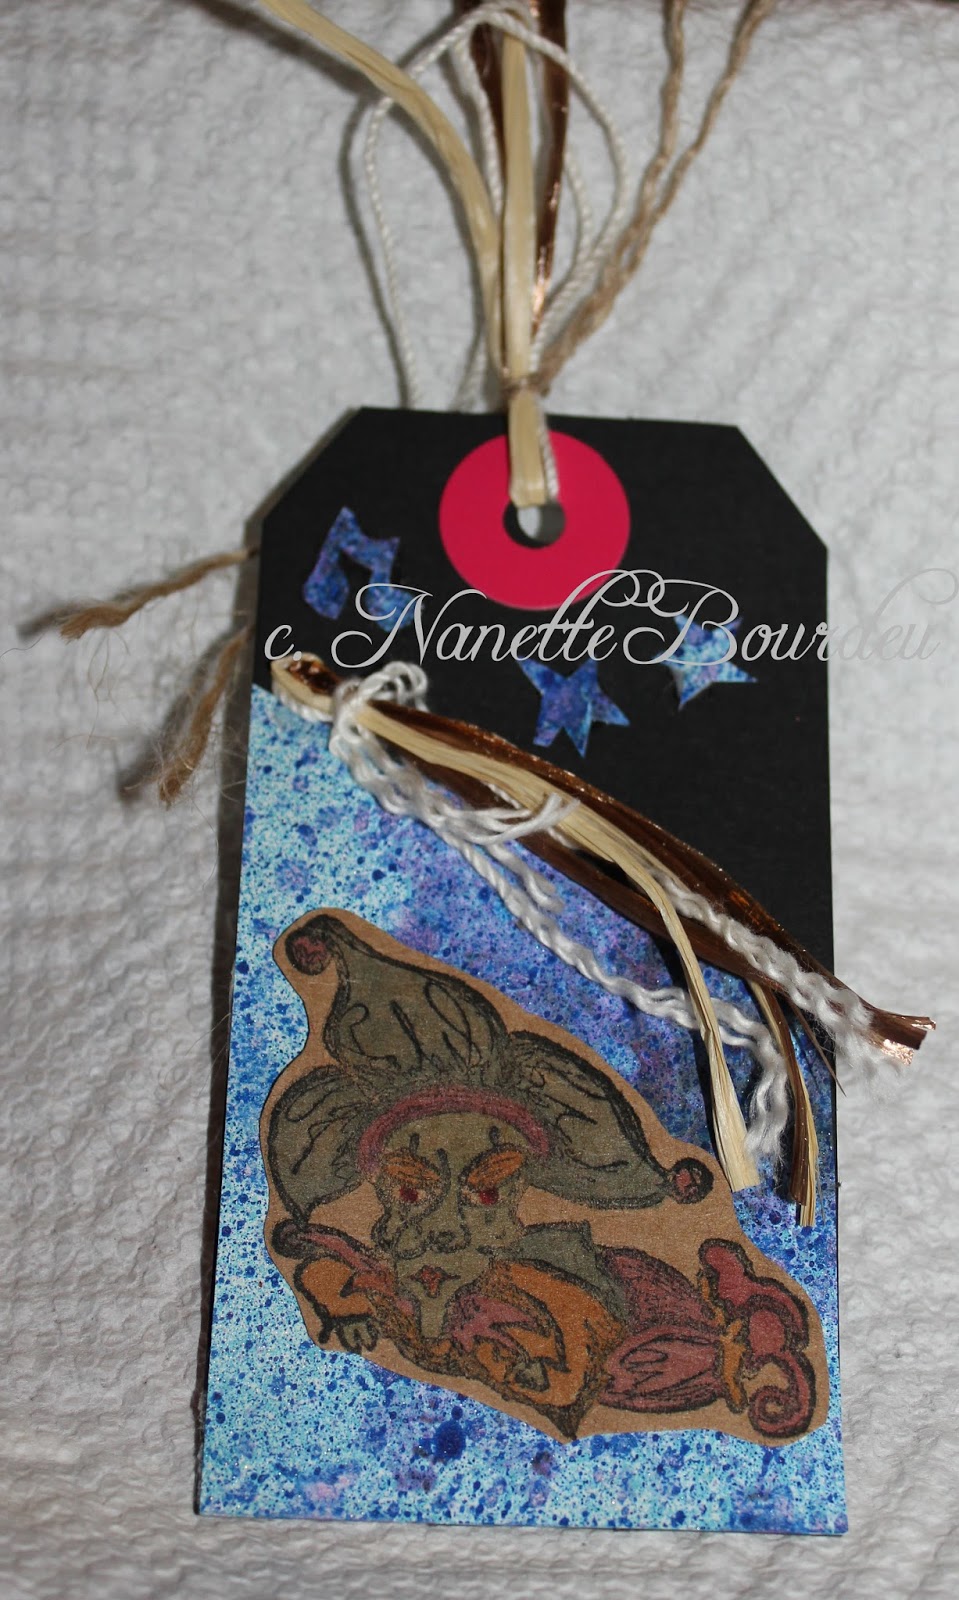
"Stencil Saturday" theme for today.  Steampunk angel wings from the Artist's Cellar on mixed media background ATC stamped with Smeared Ink stamp for the ATC set, do not know the name!!??  Edged with distress inks!


Last day tomorrow so get ready to get inky and something else?  Smeared and Smudged: More Smeared Ink


Friday, August 7, 2015

Day 5 at Smudge Fest "Use Fibers"

Ok, loving this create without putting a lot of thinking behind it or as I often do, agonizing over it!  Moving fast is fun and the theme just makes stamps I want to use pop in my head :)


Happy Crafting!
 

Poe's Grand Opening of His Theater

I saw this idea in a magazine and so wanted to make one!  Of course I did not have the specified materials needed so as always I feel back on my old friend, cardboard for boxes hoarded!  I made it with some new releases from the British Museum elements of architecture.  The original one I was inspired by had a drawer on the bottom to hold different props for different scenes and I intended on doing a drawer but the ruler was having a bad night and would not play right so we have no drawer.  It does have an area for the back drop you are using and then a divider for additional back drops.  

So when I saw the challenge for Quoth the Raven with so many things to pick to use, I had already made my little Poe puppet (yes it is impossible to make a brooding Poe puppet! After many tries I gave it up.)  The first backdrop was a graveyard scene from the museum releases and added the fabulous Ike's "Poe's Death Bed" when I saw the challenge theme.  Poe and the clay moon with a really weird face made from a Barbie doll mold I attempted, unexpected result!  They hang from a silver thin cord from a cardboard strip across the top, two strips for depth and layering.  Black lace, purple flowers, Poe written in foil tape for faux metal, purple air dry clay skull guarding the stage, and red on the awesome image from Ike's Art.  


 Taken without flash so some elements would show better

  
                      With the flash
 
Closer look inside the stage

 Side view of the innards of the theater :)

I have ideas swimming in my head for my little theater oh I mean Master Poe's theater.  He has agreed to share the stage with others just no poets, writers of any kind!  So of course I have agreed.  Take a look at the new challenge up at Quoth the Raven with special guest designer Susan, a totally awesome, lovely person, and while you are there pick 3 any 3 and pleaseth thy Master...sorry, really cannot pull off that language thing!

Happy crafting!

May I enter this at the following challenges:

Thursday, August 6, 2015

Day 4 at Smudge Fest Get Trashy

My kind of theme: get trashed, torn, worn, distressed, if only you could see what I salvage from the trash can!  I had the perfect paper for this project...new but tears if you look at it.  My son bought it for me at a Hong Kong market in New Orleans that we went to and it is used for burning on altars I think, not sure no English on the package but got over a hundred sheets for 99 cents a bargain or what?  You have to have a backing paper for it as it cannot stand alone so from my trash stash came a junk mail advert so inked it with distress inks black and red then stamped images on paper lying on top of the inks..some seeped through.  Then four fab stamps from Smeared Ink in black and red and a handwritten word, taped carefully to junk mail backing and distressed inked it all over edges and front wrinkles. Ta Da! Trash talk make for today!

 Happy another piece of trash didn't make it to the dump!

Go here for the rules and daily themes to work with and a daily winner is chosen!


Wednesday, August 5, 2015

Day 3 at Smudge Fest at Smeared Ink

Challenge was get wet and messy! I went with watercolor paints and a fab rubber stamp by SI from the "Morte" set a flaming skull,  love him! Opened up a dollar store watercolor set and got a little messy.


So go to More Smeared and Smudged's page here and find the daily challenge through the 9th of this month.  Smudge Fest 2015! 

Happy Crafting!

Tuesday, August 4, 2015

Challenge #43 "All About the Night" at Ike's World Challenge

My kind of theme this fortnight!  It is time to explore "All About the Night" at Ike's World Challenge! Oh the wonders to consider!  But one image at Ike's Art store jumped out at me with its lovely image and wondrous title "Bite Me"!  I had just found a sentiment in a freebie image kit by Tiddly Inks I think?  So an image, a sentiment, and this awesome freebie background paper in an issue of Somerset Studios found at an antique store and I was in business!


I would definitely think several times before saying this to her!  She has such a lovely face but do not be deceived!  There is danger to the heart and eternal soul!

Time for you to enter the challenge at Ike's World now!  Also, as always, Ike has provided us all with one awesome freebie found on week one of this challenge!  I will be looking for your entry with my friend here....I am pretty easy going, her not so much!  So please enter at the linky of the Challenge page?  So much neater than having to clean up after her!

Saturday, August 1, 2015

It's Time for Round 4 at Dream in Darkness

That's right! Our fourth challenge is up and running at Dream in Darkness with Teri Sherman of Delicious Doodles generously sponsoring us this month!  I have wanted to make a tee for myself and my teamies and the image I picked of Teri's called "Let Me Out" was perfect!  A little coloring with my Chameleons and a little Photoshop work for the text and if only the iron had not gone through the washing machine a few months back! it would have been amazingly easy and awesome!  So please don't mind the wrinkles!


Remember, if using text on these transfer sheets, reverser the image first!  Almost made a major uh oh on that issue!  I just love my tee! I got them in xlarge sizes as I like to create with my loose tees and old scrub pants and any splatters will just add character to this beauty!

Now run look at the amazing makes by my teamies and help them in finding me where Evil Froggy has hidden me!  Would try and give you a hint but he watches my every move and word...hmmmm, let's try something...livingr.............................Nope!  Oh well, gave it a shot!  See ya over at Dream!

Happy Crafting! 

May I enter this in the following challenges:
Delicious Doodles August White on White

Wednesday, July 22, 2015

Frankinella's Workshop for Dream in Darkness Challenge Blog

Today at Dream in Darkness we are celebrating the fabulous freebie given by the awesome Ike of Ike's Art! Visit us to see all the teams amazing makes!  I think Frankinella, who we call Miss Frankie, seems to have some revenge in her eyes against that pesky doctor who created her and her hubby!  So here is a peek inside her workshop where she diligently works on her potions for revenge.


 Her work shelf is made from cardboard painted with acrylic paints. The shelves were put on brackets made from cardboard strips but at the last minute I turned it upside down and now brackets are on top!  Frankinella is colored with Prisma colored pencils, red distress marker is used on her wounds, eyes, shoes, and lips.  Glossy Accents on those colored with red and her fabulous gown and hair.


 Hat, book charm, and zombie pumpkin (making a return from 31 DOH 2014) are made from polymer clay and painted with acrylic paints. The skull and top of arm skelly is made of air dry clay by Crayola brand and dusted with blue Perfect Pearls and some gold eye shadow.

This shelf holds her tube worms again clay, painted, and a tin from a pie embossed to flatten and cut to make a circle and filled with hot glue and worms stuck into it. Two bottles, one with clay eyeballs colored with distress markers and , of course, the other has a "sample" of the doc's blood!  Blood is red nail polish and labels were made with label maker and distressed with distress ink pads. The lovely zombie brain is polymer clay and painted with acrylic paint to make it "zombiefied" looking.

 The bottom shelf is where she keeps her essential item: the Revenge Potion book also made of polymer clay with a cord for a bookmark and words on pages from a label maker.  Her secret essential oil is kept in her special bottle. This was made with beads, bead cap, and bead spacer.


Another view of the awesome image "Frankinella"!


And of course I had to take a photo with some awesome purple glitter candles from the dollar store and in this photo I added her container of purple slime that is shaped like a skull!
Hope you enjoy our day of celebration as much as we did doing it!
Happy Crafting!


Sunday, July 5, 2015

My Zombie Lady Image by Rick St. Dennis in Finnabair Style

I was so surprised when Rick St. Dennis drew this lovely zombie lady image for myself and Monique!  Monique has finished hers and it is a beautiful thing!  I was quiet intimidated by following up mine after seeing Mo's! But I wanted to do it so badly, I took a deep breath and went for it!

The canvas is a piece of chipboard, cardboard from shipping and other things works well for me also.  I smeared gesso on with my fingers on both sides to help with it trying to pull up in the middle, still does a bit but when framed I can fix that.  Then I adhered paper pieces doesn't matter what paper as it will be covered, and had some cardboard pieces that had gotten wet and separated quiet lovely so I added them to corners. Then the texture paste came out and 2 dragonflies were pasted and some numerical symbols.  I also just added texture paint around randomly especially on cardboard corners to adhere well.    I took DecoArt fluid acrylics in red, blue, yellow, and silver with a touch of black and put at top of canvas and misted until it ran the way I wanted it to and liked.  Such fun!  The more you mist the more different shades you get!  Then I sprayed with turquoise and blue shimmer spray, Recollections pink shimmer spray, and a green golden shimmer spray that I made from food coloring and the remains from a gold spray that kept clogging all the sprayers!!  Dry time! 

Then the real fun began! I took the colored and fussy cut image and adhered to the canvas.  I sealed her fate! with Ranger's Multi Medium Matte giving her two coats to prevent sprays from affecting her.  I colored her prior to putting on canvas with Prisma colored pencils and some Chameleon markers for her wounds!  After she was good and sealed! I started adding air dry clay pieces made from a fondant mold that I made my parent's 56th wedding anniversary cake with last December.  As I do not intend to bake again if I can help it!!! I used it to make my air dry pieces to adorn her hair in an updo reminiscent of Marie Antoinette.  I added pieces of jewelry, and bits and bobs given to me in a huge bag by my favorite aunt!  After having such fun with that I applied gesso to all the items and in spaces..then when dry I sprayed and resprayed using the above sprays.  I have been waiting 13 days for a delivery of Lindy's Stamp Gang sprays for some lighter colors but alas they have not arrived so I took some silver and yellow fluid acrylics on my finger and used like a metallic rub.  This lightened her up quiet a bit.


I stamped two sentiments on canvas from VivaLasVegas Stamps:  "We are not like others" and No Newt is Good Newt!"  Then I stamped the other sentiment by the same company on a piece of
paper and took a circle punch to make little cutouts in the corners and sprayed with my green homemade spray. Then glued down.

 
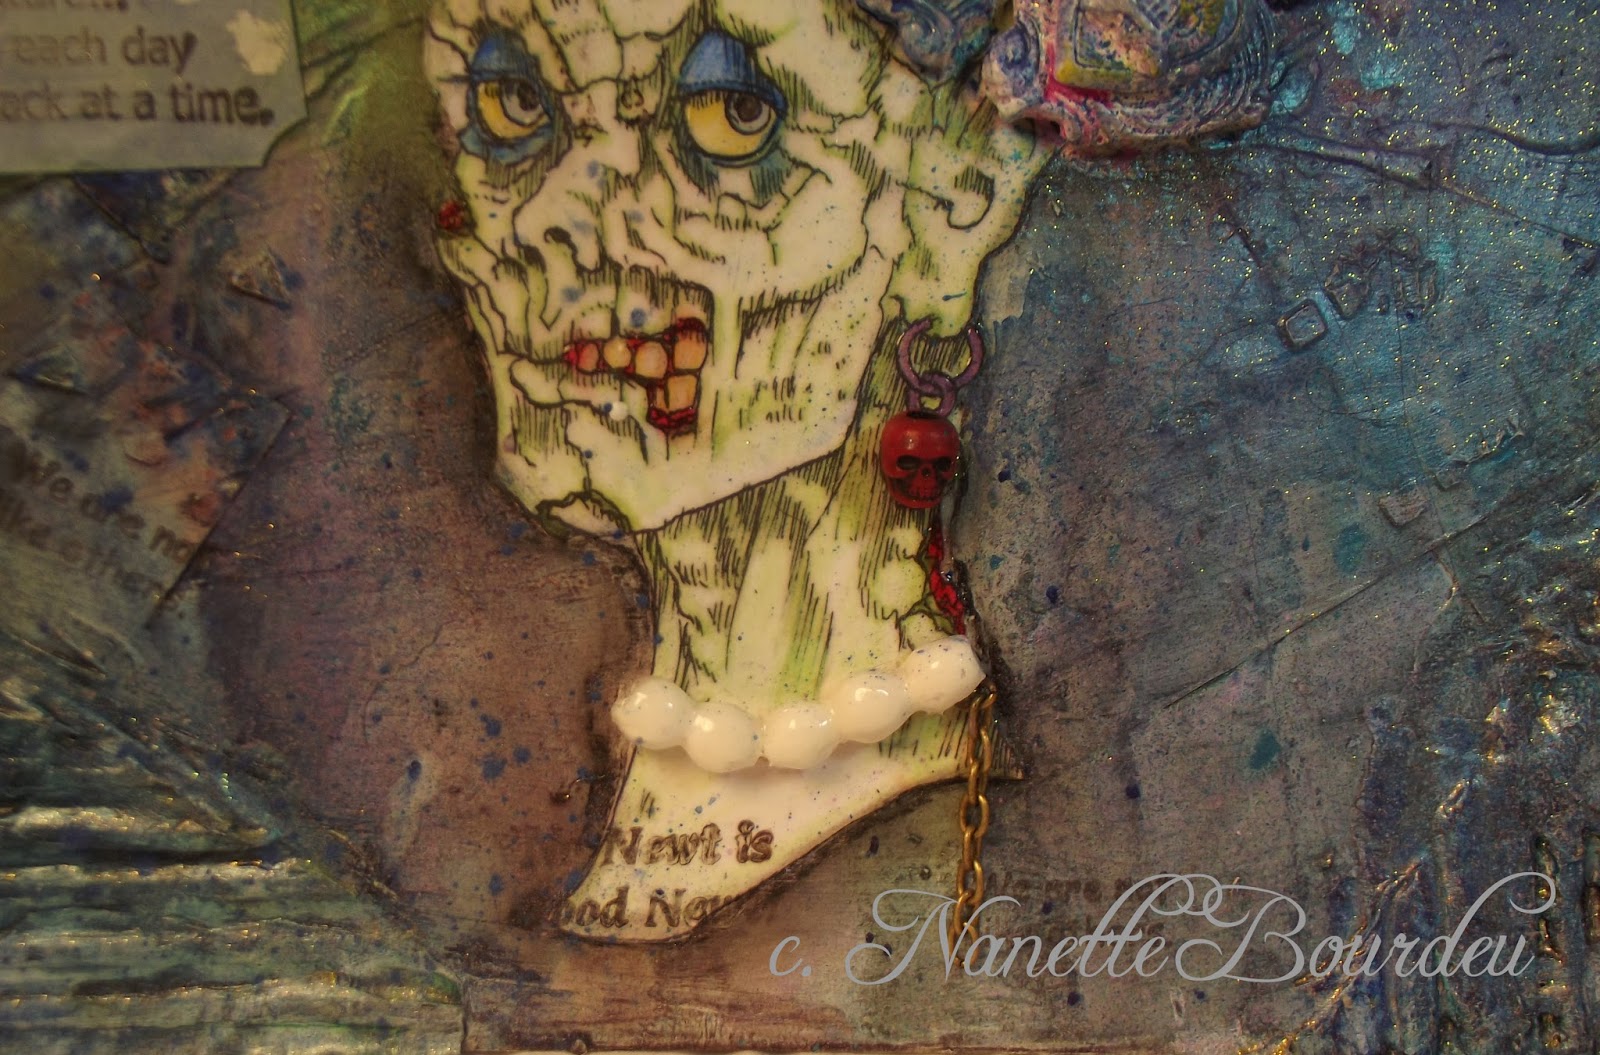
 Her pearls are air dry Crayola clay with DecoArt's Liquid Glass applied on top giving them a lovely shiny finish just like glass!  I added a red skull bead on top of the skull drawing earring.  I also added an old looking chain to the pearl necklace to hang down her back.


Here you can see part of the stamp on her neck..and behind my name is another.  I placed them randomly around the canvas.  Her eyes and wounds and errr....mouth are glossed with Liquid Glass..Love the effect it gave her!

 
 Here is her updo!  The feathers will be replaced with real feathers and a chain but I couldn't find my feathers so I used die cuts. There are paper roses, skull bead, a little homemade bat from air dried clay!, and some pins (the lightening bolt/snake) also some pieces of sand dollars from my beach at my vacation home that resemble bones cross sectioned!  Also lock and key, and many other bits and bobs!

This is my favorite Finnabair style canvas so far!  But certainly not my last!  Thanks, Ania, for this awesome technique and the beauty and fun it produces!  Below are links to all things Finnabair on Facebook.

Happy Crafting!

I will be entering this in Altered Eclectics Challenge theme Anything Goes: Altered chipboard page.

Forever Dark 2 July "Anything Goes" 

STAMPlorations July Mixed Media Stencils


Saturday, July 4, 2015

Alice Blog Hop Now in Right Place!

Today we are celebrating the 150th Anniversary of Alice in Wonderland, and what better way to do that, than to share lots of creative projects inspired by this wonderful story.

Not only will you see lots of amazing artwork today, but you can also win prizes from the following amazing companies;


Prize winners will be selected from Random blogs throughout the hop using Random.org to select each winner.  In order to be eligible for a prize you must visit all stops on the hop and leave a comment. The prize draws will be open until July 18th, with winners announced on July 20th.

Here's my Alice in Wonderland inspired project;


Blog Hop List

 This Alice image and the Eat Me image are from I Brake for Stamps and are by Rick St. Dennis.  Colored with Promarkers and some Chameleon markers. 
 I used a tile and glued beads onto the bottom of the tile to make a vanity tray.  The corner elements are air dry clay made with a mold used for an anniversary wedding cake for 
my parents.  I decided I would use it more with clay! :) Colored them with sprays by 
DecoArt, Recollections, and a homemade glitter spray.
I adhered the images with tacky glue and sealed with Ranger brand Multi Medium Matte
and then put the second images I colored: the cup hat, the cupcake, tag, and bottle top on 
foam dots for dimension.  And I added some sead beads for sprinkles on cupcake and some string colored with Distress Inks, tied and glued on the tag.  For her necklace, I cut a piece of chain and hot glued to her blouse and then hot glued on the rabbit charm.
 The sentiments were typed in Photoshop and cut out and sprayed with my light green 
homemade sparkle spray.

Now it is ready to set on my bedroom vanity and I can celebrate Alice everyday! Now off you go to Jenn's blog and leave some love for all who participated in the hop!  It makes them
feel wonderful and YOU can win a wonderful prize from our wonderful sponsors!
Happy crafting and Happy Anniversary Alice and the Gang!!

May I enter this in:

http://alteredeclectics.blogspot.co.uk/

Anything goes for July: Altered Floor Tile